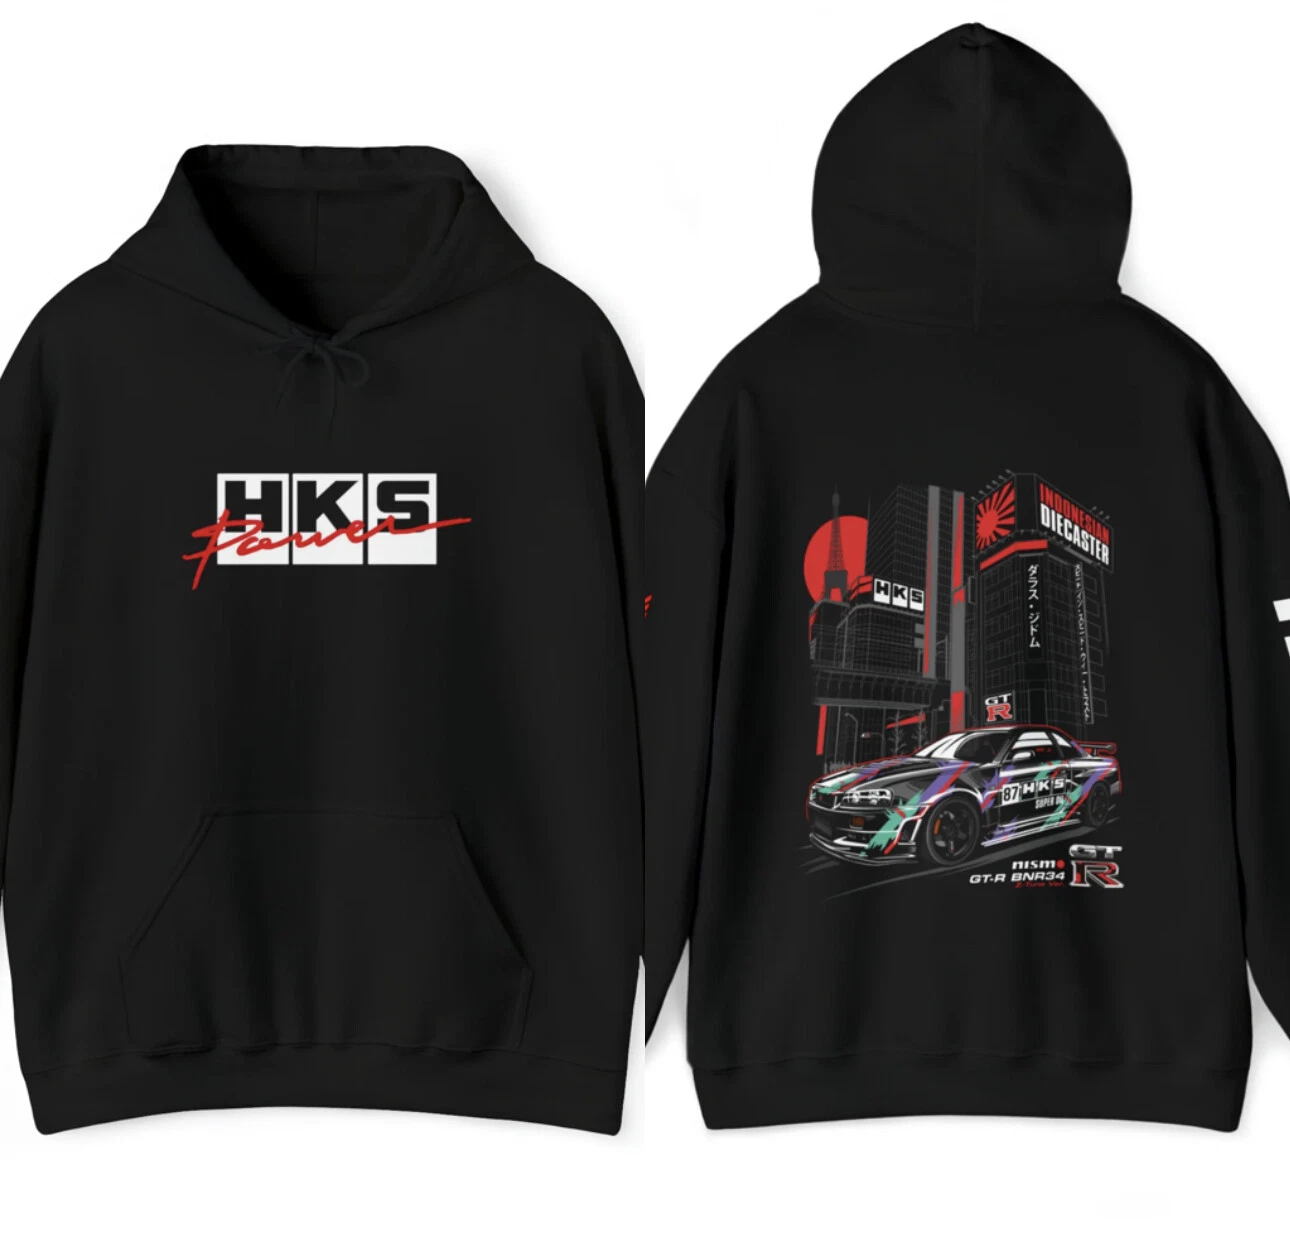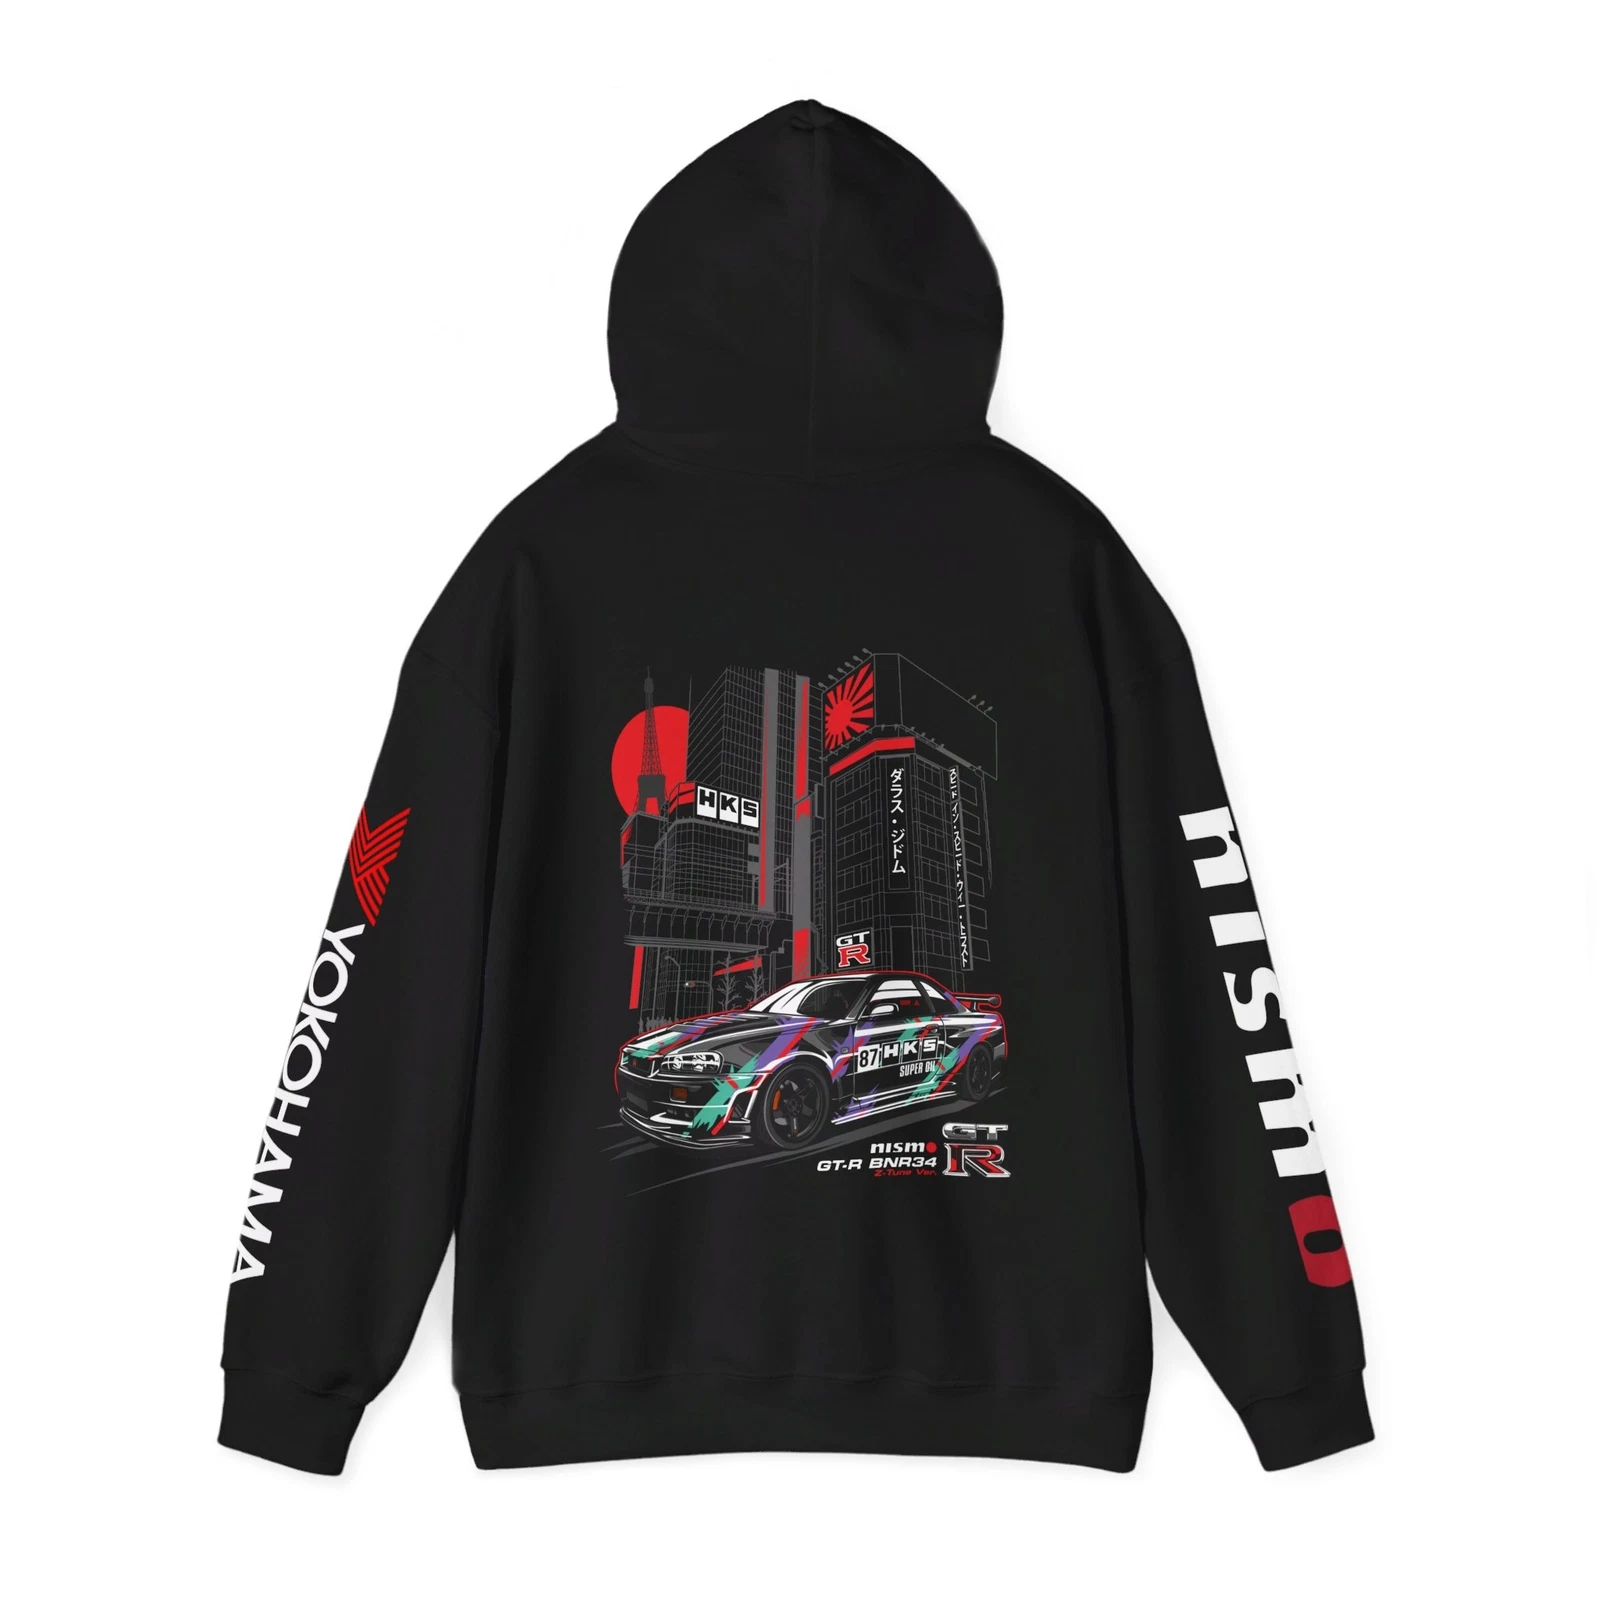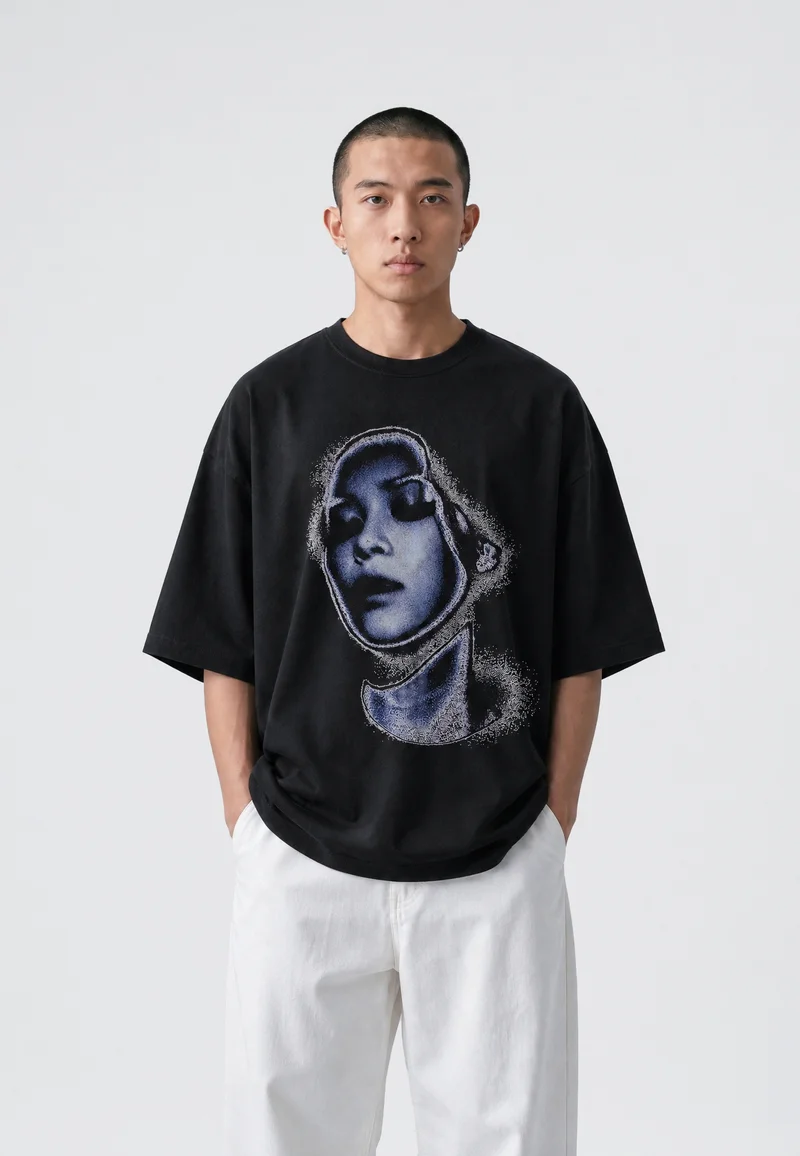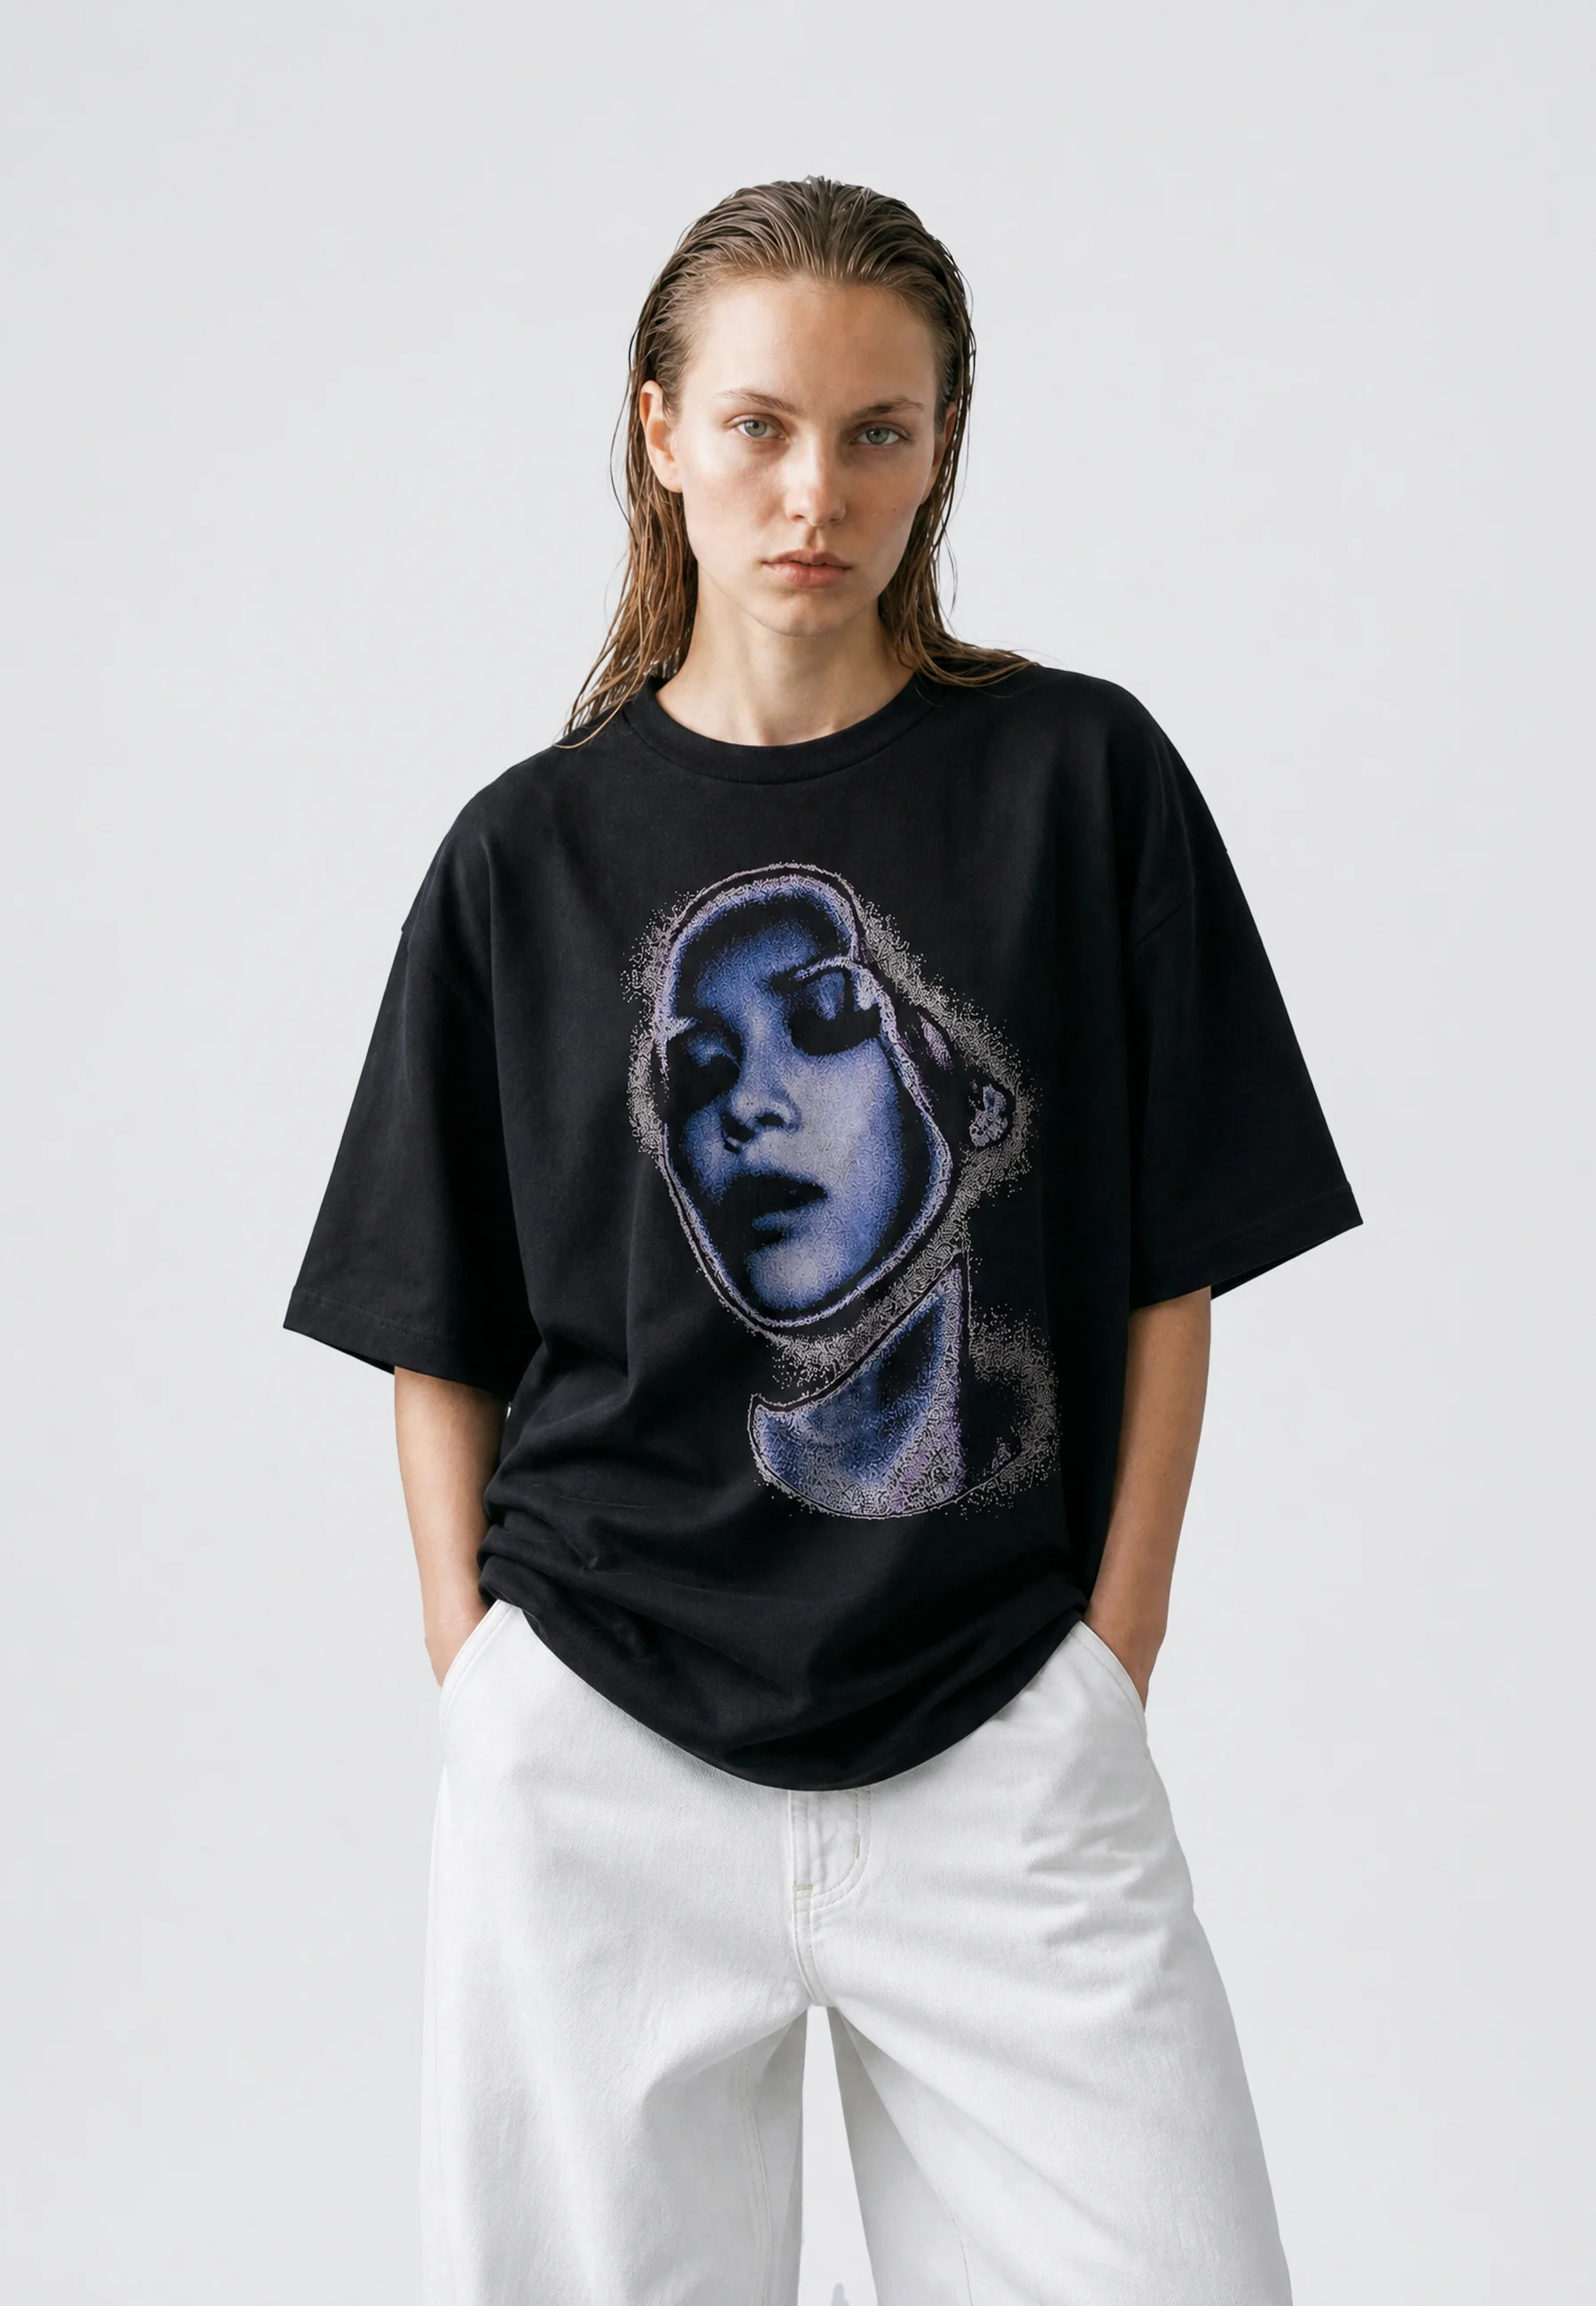
Strip the color out of an outfit and you remove its easiest excuse. No teal to carry the eye, no burnt orange to break the block — only tone, texture, silhouette and edge. That is the appeal of shooting New York in black and white: greyscale is an honest judge. If a look holds up in monochrome, it was actually styled. Here is how to build one and shoot it on the street, with whatever camera you own.
Why greyscale is a styling discipline
A color photograph gives you five variables. A black-and-white photograph gives you two: value and texture. What you thought was contrast — a navy shell over a rust knit — collapses into one flat grey the moment color disappears. That collapse is the point. It exposes whether the outfit has structure underneath the palette.
Work in monochrome for a month and your styling changes permanently. You stagger hems, because separation now comes from line rather than hue. You care about how a hood stands, because a silhouette that reads at forty feet is worth more than a graphic that reads at four.
Color hides a lazy outfit. Greyscale shows you the bones — and the bones are what people remember.
Gifted Elite New York
The tonal ladder
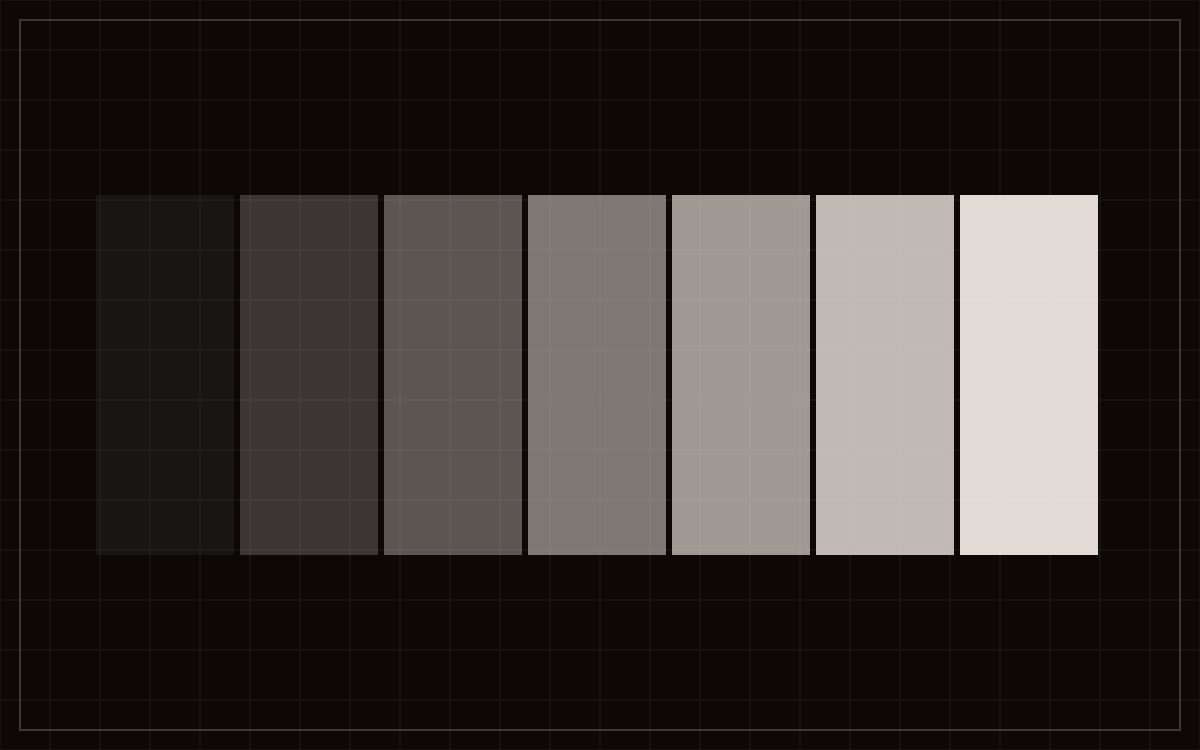
Monochrome dressing is not all-black dressing. All-black photographs as one shape with a head on top, occasionally the goal and usually a mistake. What you want is a ladder: three or four rungs of tone, separated enough that the camera can tell them apart. Six tones cover most of a wardrobe.
| Tone | Where it sits | Pairs with | Photographs as |
|---|---|---|---|
| True black | Bottom rung: piece-dyed cotton, coated nylon, raw denim | Bone, off-white, concrete grey | A shape, not a surface; closes up under hard light |
| Washed black | Half a step up: garment-dyed fleece, faded twill | True black, charcoal, off-white | Soft near-black with visible weave; most forgiving |
| Charcoal | Lower middle: melange knits, heavy wool, dark twill | Bone, true black, washed black | Deep grey that keeps texture; reliable in overcast |
| Concrete grey | True middle: heather fleece, canvas, mid-grey denim | True black, off-white | Sits where sidewalk and wall sit — risky against them |
| Bone | Upper middle: undyed cotton, natural canvas, linen | True black, charcoal | Warm light grey with body; rarely blows out |
| Off-white | Top rung: optic tees, painted nylon, bleached fleece | True black, washed black | Near-paper white; first to lose detail |
How many rungs to use
Three is the working number: an anchor, one middle tone, one high note. Two rungs read graphic and severe, which suits a hard-edged location. Four or more looks accidental unless the tones stack as a deliberate gradient. Skipping rungs matters more than counting them — true black against concrete grey separates cleanly, while charcoal against washed black merges into one mass in anything but direct sun.
The squint test
Before you leave, stand back from a mirror and half-close your eyes. Whatever separations survive the blur are the ones the camera will record. If jacket and trouser become one dark block, change one or add a bone layer between. Four seconds of work, an entire shoot saved.
Texture, sheen and print scale
Once tone is settled, texture does the work color used to do. Two garments at the same value stay visibly distinct if they reflect light differently, and that is what keeps a monochrome frame from going flat.
Pair by surface, not by shade
Think in opposing surfaces. Heavyweight fleece against coated nylon: one absorbs light and holds soft shadow, the other throws a hard specular line along every fold. Waxed cotton against jersey: a low sheen that catches a window's reflection next to something matte and even. Ribbed knit against smooth twill gives repeating micro-shadow beside a clean plane. Corduroy, boucle and canvas carry their own shadow at close range, so they survive flat light where a smooth surface renders as grey cardboard. The build of the cotton does half of this; it is worth knowing how heavyweight cotton behaves.
One rule keeps it from getting noisy: allow a single high-sheen element per look. A nylon shell, a coated hem, one polished shoe. Two competing sheens fight each other and both lose.
Print scale and halftones
Scale matters more in monochrome, because a print has no hue to announce itself with. Large simple marks — an oversized back graphic, a wide band, a bold wordmark — hold shape at distance and in motion. Linework under about two millimeters dissolves past a few feet, and a phone's noise reduction smears it further.
Halftones are the exception worth planning for. A coarse dot pattern reads as genuine mid-grey from across the street and resolves into structure up close, giving you two images from one garment. Fine halftones do the opposite: they interfere with the sensor grid and produce moire, a shimmering false pattern no edit removes. With a tight dot or narrow stripe, shoot closer or slightly off-angle. The mechanics are covered in our notes on print techniques.
Scouting the city
New York gives you free sets on every block, and the good ones are already monochrome. Look for repeating geometry and a background value that opposes your anchor tone: a dark outfit needs a bright wall, a bone-heavy look needs a dark recess.
| Location | Best light | Direction | What it gives you | Watch for |
|---|---|---|---|---|
| Industrial doorway | Overcast or shaded midday | Street lights the subject | Black recess behind bone or off-white | True black vanishing into the shadow |
| Subway tile | Any hour, artificial | Flat frontal, braced on a column | Bright grid, strong separation for dark looks | Green casts; fix white balance first |
| Scaffolding | Late afternoon | Sun raking from one end | Hard diagonal shadow bars | Bars cutting the face; move a step |
| Chain-link | Golden hour, backlit | Sun behind the fence | Glinting mesh reading as silver texture | Autofocus grabbing wire, not garment |
| Gridded facade | Morning side light | Light across the building face | Architectural rhythm behind a silhouette | Colored signage reflecting in |
| Wet asphalt | After rain, blue hour on | Street light three-quarters behind | Mirror-black ground, specular streaks | Mixed sources muddying midtones |
Reading the light
Overcast is the easiest monochrome light there is: a citywide softbox that flatters texture and keeps black garments open instead of crushed. Direct midday sun is hardest, but it is the only light that gives truly graphic shadow, so stand at the edge of the shade rather than in the glare. Golden hour matters less than expected — warmth disappears in conversion — though the low angle still rakes across texture.
The most reliable street light here is the shadow side of a wide avenue an hour or two before sunset: soft, directional, bounced off the bright buildings opposite. Our lookbook is shot almost entirely in that window.
Shooting it, and converting properly
None of this needs a budget. A recent phone in decent light beats an expensive camera used carelessly. What matters is the order of operations.
Expose for the highlights. A blown-out off-white sleeve is unrecoverable, while shadow detail in a black jacket can usually be lifted. On a phone, tap the brightest part of the garment and drag the exposure slider down until the whites stop glowing. Shoot RAW if your device offers it, and capture in color — a color file gives the conversion far more to work with.
Then convert rather than desaturate. Pulling saturation to zero averages the channels and produces the muddy grey most phone photos default to. Use a dedicated black-and-white conversion and adjust the color sliders inside it: darkening blue deepens sky and denim, lifting orange and red brightens skin so a face does not sink into a dark garment. This is where the image actually gets made.
Finish with a gentle S-curve — shadows down slightly, highlights up slightly, midtones left alone. Muddy midtones are the most common failure in amateur black and white, and they come from raising overall brightness instead of shaping the curve. Set a true black point in the frame and a true white point elsewhere; everything between then has a job.
Preview in mono
Most phones apply a black-and-white filter to the live viewfinder while still saving the full color file underneath. Turn it on. You compose differently when you can watch tonal collapse in real time, and you keep every option open in the edit.
Posing, movement and flat-lays
Garments with volume need air. A wide trouser or oversized shell photographs as a sack when the subject stands still and square. Movement fixes it: walk into frame and shoot as the leg opens, turn so the hem swings, step off a curb. Burst mode exists for this, and one frame in twelve will have the drape doing what you want.
Three-quarter angles keep depth that a straight-on shot flattens. Shift weight onto the back foot, drop one shoulder, and keep hands structural — in a pocket, on a strap, adjusting a cuff. Shoot from just below eye level to let a long coat run its full length. Confirm the fit first; a garment a size off fights every pose, and the size guide is the faster fix.
For flat-lays, work beside a window with light from one side, on a surface that opposes your piece: a dark board under bone, a light board under black. Shoot straight down, phone parallel to the ground, on a self-timer to kill the shake from leaning over. Fold with intent — one sleeve fold, one hem fold, nothing symmetrical — and leave negative space so the frame crops square or vertical.
The pre-shoot routine
Greyscale amplifies every wrinkle and stray fiber; with no color to distract from them, they become the highest-contrast thing in frame.
- Steam, do not iron. Steam relaxes creases without flattening a fleece nap or pressing shine into twill. Hang each piece and work top to bottom.
- Lint-roll under real light. Black cotton holds fibers you cannot see indoors. Roll in daylight, then roll again once dressed.
- Check the ladder in a mirror. Run the squint test: three separated rungs, one sheen accent, nothing more.
- Charge, clear, clean. Full battery, free storage, lens wiped. A smeared lens causes more soft frames than any camera limitation.
- Scout in the light you will shoot in. Walk the block ten minutes early and pick two backgrounds. The first is rarely the best.
- Shoot wide first. Establish the full silhouette against the location, then move in for texture, hardware and print while the light holds.
What to bring
- Travel steamer, or a small spray bottle for touch-ups on location
- Lint roller, plus a strip of tape as backup
- Microfiber cloth for the lens and any coated surface that marks
- Two spare tops at different rungs, in case the background works against your first choice
- Binder clips or pins to hold a hem or waist on a piece styled loose
- A phone tripod, or a bag to prop the phone for flat-lays and timed frames
Key takeaways
- Greyscale removes color as a crutch and forces styling by tone, texture and silhouette.
- Build the look as a ladder of three separated tones, not one block of black.
- Pair opposing surfaces — matte against sheen, fleece against nylon — with a single high-sheen accent.
- Large simple prints and coarse halftones survive distance and motion; fine linework does not.
- Expose for the highlights, capture in color, then convert properly rather than desaturating.
- Steam, lint-roll and squint-test before you leave; greyscale magnifies whatever you skipped.
Frequently asked questions
Can I shoot a full black-on-black look and still get separation?
Yes, but separation has to come from texture and light rather than tone. Combine at least two clearly different surfaces, such as matte fleece and coated nylon, then light the subject from one side so every fold casts its own shadow. Place the look against a bright background so the outer silhouette stays defined.
Does shooting on a phone actually work for this?
It works well. Phones handle soft overcast light, which is the most flattering monochrome light New York offers, and their wide lenses suit full-length street frames. Shoot RAW if available, expose for the highlights, capture in color, and convert afterward. The limits show up in low light and in fine print detail, not in everyday conditions.
Why do my black-and-white photos look grey and flat?
Almost always because saturation was pulled to zero instead of using a real conversion, and because overall brightness was raised rather than the contrast curve shaped. Set a genuine black point and white point in every frame, apply a gentle S-curve, and leave the midtones alone. Muddy midtones are the usual cause of flatness.
What time of day is best for monochrome street photos?
Bright overcast at any hour is the most reliable, since it opens up black garments and preserves texture. Failing that, the shaded side of a wide avenue one to two hours before sunset gives soft directional light bounced off the buildings opposite. Save direct midday sun for shots where hard graphic shadow is the point.